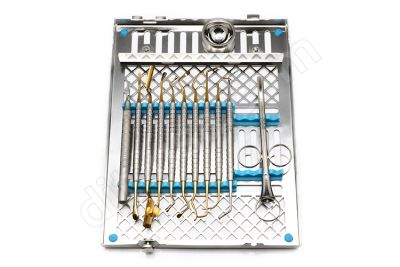
Implant Fixture & Prosthetic Screw Remover Kit
Implant and Screw Removal Kit
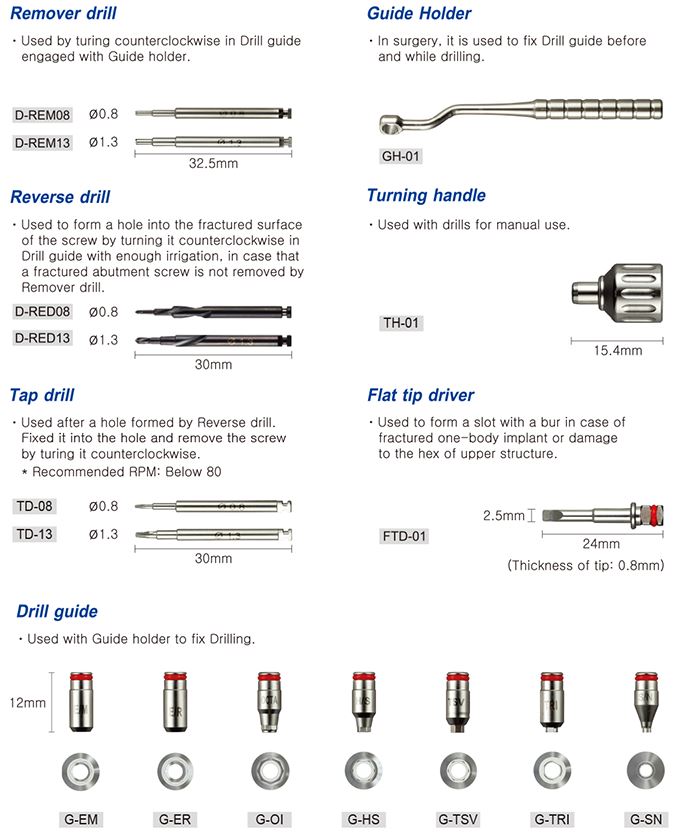
The implant and screw removal kit is used for the removal of failed implants, stripped screws, and fractured screws. Three sizes of fixture removers are provided, ensuring the removal of any size implant. Fixture removers cross thread with the internal threads of any implant, fusing the two pieces together. A variety of screw removal instruments are included which allow clinicians to remove both fractured and stripped prosthetic screws. This kit provides everything you will need to remove implants and screws, making it an essential addition to any implant practice.
Screw Removal Components
- Prosthetic guide holder
- Long ratchet wrench
- Adapter (contra Angle to 4mm square)
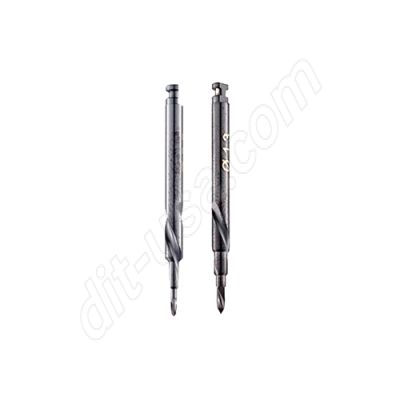
- Reverse drills
- Reverse taps
- Flat tip driver
- Prosthetic guides (listed below)
External Mini (M)
- Hi-Tec Summit®
- Nobel Biocare Branemark System NP®
Octa Internal (O)
- Hi-Tec Tite-Fit & Tapered Tite-Fit®
- Straumann ITI Tissue Level®
- Implant Direct SwishPlant®
TSV 3.7/4.1
- Hi-Tec Logic+, Spark, Self-Thread®
- BioHorizons Tapered Internal 3.7 and 4.7®
- Implant Direct Legacy® (3.7 and 4.7 internal hex)
- MIS 3.3, 3.75, and 4.2®
- Zimmer TSV 3.7, 4.1 and 4.7®
External Regular (W)
- Nobel Biocare Branemark System RP®
Hex Submerged (H)
- Hi-Tec Logic, Implex, Expert® NL
- Nobel Biocare NobelActive®
Trilobe 3.5 NP
- Hi-Tec Vision® 3.5
- Nobel Biocare Tri Lobe® 3.5
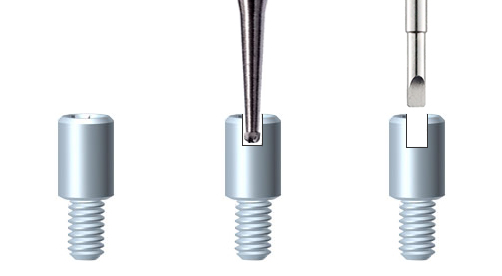
Instructions for Stripped Screw Removal
Stripped screws are generally more difficult to remove than fractured screws because fractured screws are not under compression. The most effective method of removing a stripped screw is to create a flathead channel with a round bur, and then use a flat head driver to reverse the screw out of position
Step 1: Using a 1/2 round bur in a high-speed handpiece, create a channel on the head of the screw across the diameter of the head, creating a flat head
Step 2: After the channel is created, use the FTD-01 and ratchet wrench to back the screw out
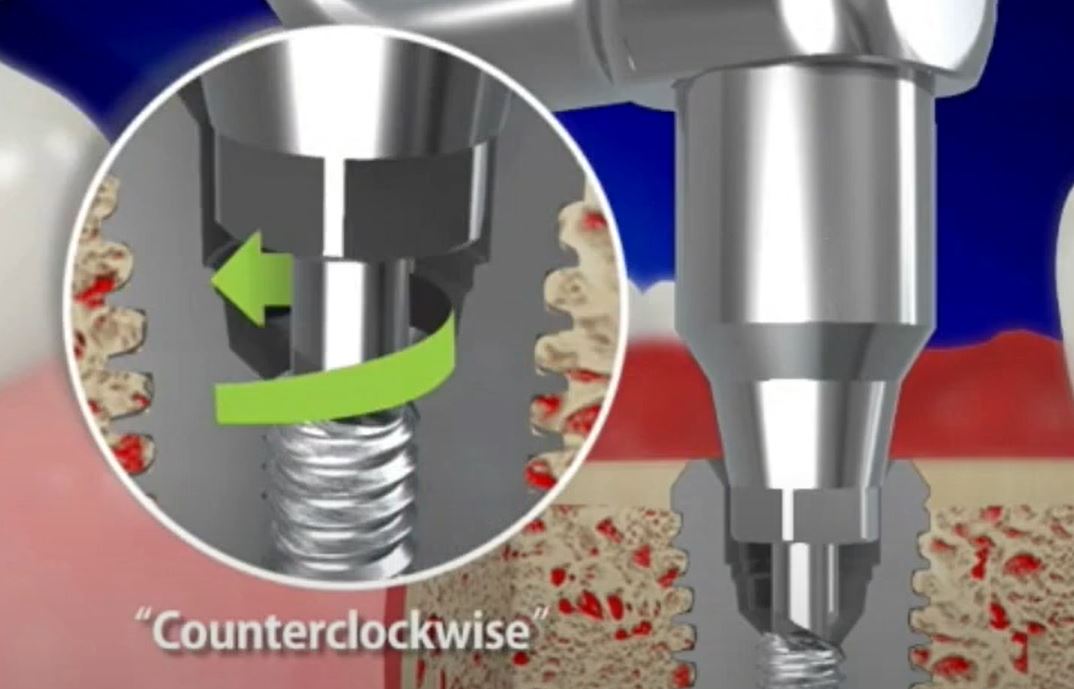
Instructions for Fractured Screw Removal
Step 1: Press the remover drill (D-REM) in the reverse direction (under 80rpm) on the top of the fractured screw to reverse the screw fragment out of the screw channel
Step 2: If the remover drill is unsuccessful: Use the provided guide information to select the correct prosthetic guide -based on the implant platform
Step 3: Attach the selected guide to the guide handle and engage the connection within the implant
Step 4: With your handpiece in reverse (1,200-1,300 rpm); create a divot in the top of the screw with the D-REM
Step 5: Remove Prosthetic Guide
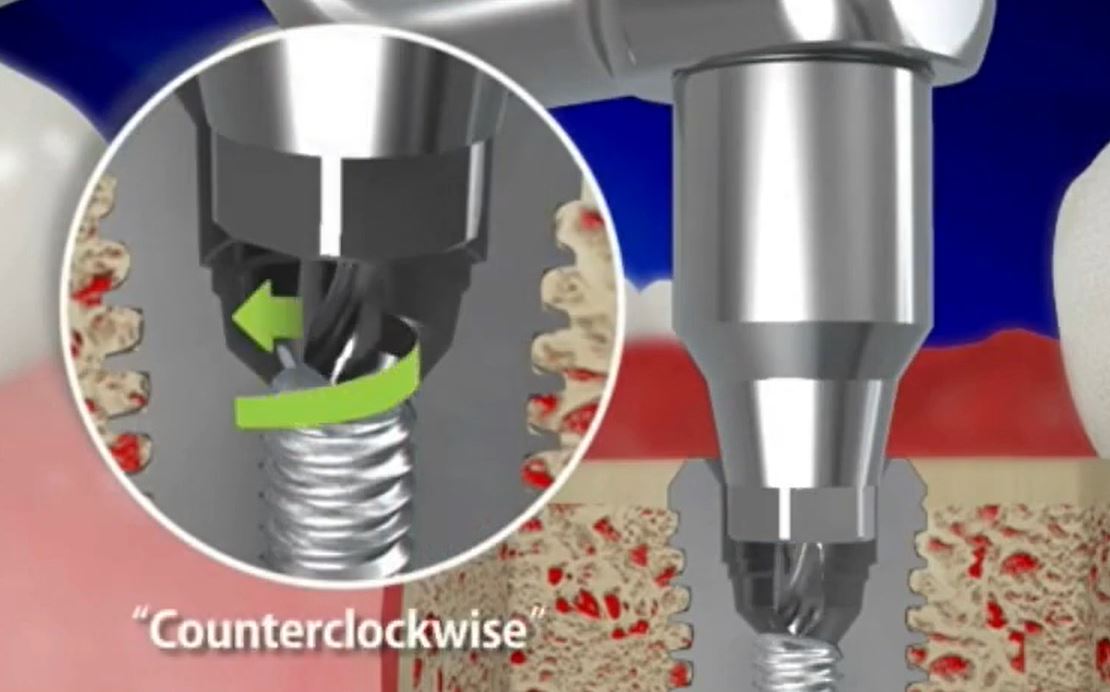
Step 6: With your handpiece in reverse (under 80rpm) press the tap into the screw channel to engage the screw
Implant Removal Components
- Fixture Removers (mini, regular, wide)
- Turning handle
- Ratchet wrench
- Ratchet extension
- Handpiece condenser

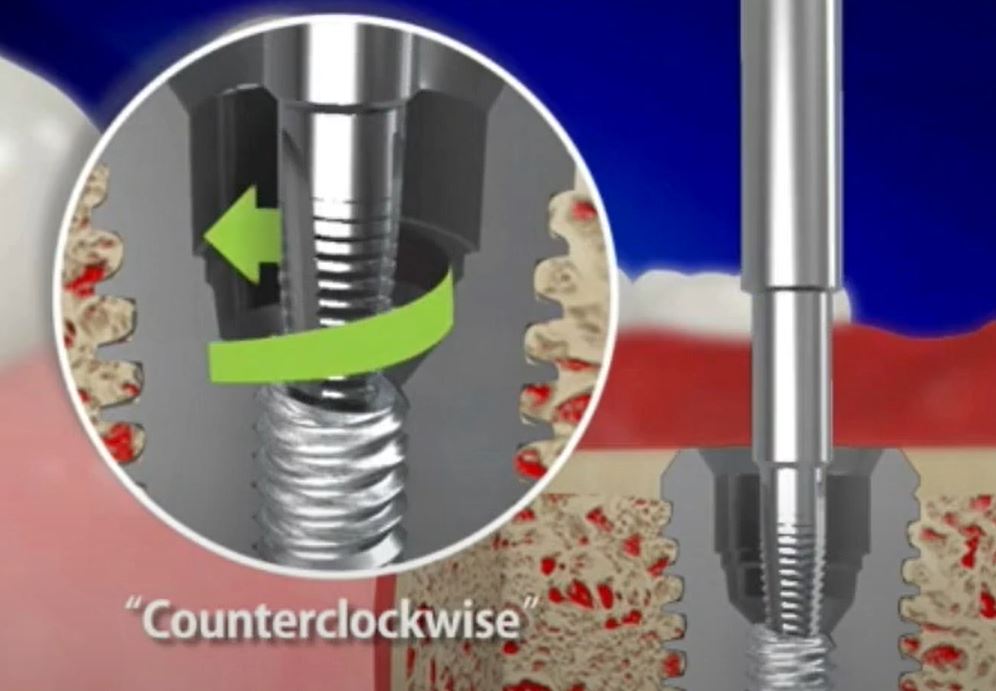
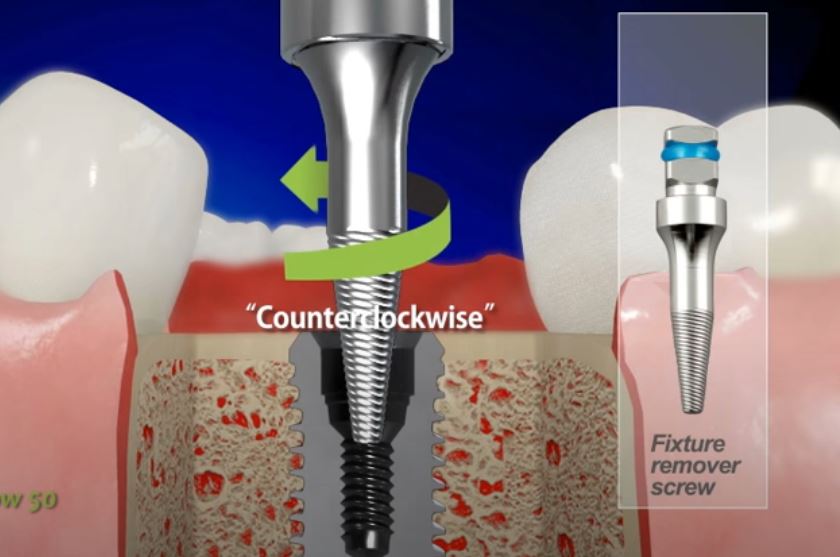
Instructions for Implant Fixture Removal
This kit uses a series of fixture removers to remove failed implants with minimal bone loss. Simply attach the appropriate fixture remover to the ratchet wrench, press down, and rotate the fixture remover in the counterclockwise direction to fuse the remover to the failed implant.
- The mini fixture remover is used on reduced diameter implants (smaller than 3.5mm diameter Implants)
- The regular fixture remover is used on standard platform implants (3.5-4.5mm diameter)
- The wide fixture remover is used on wide platform implants (larger than 4.5mm)
- This is not always the case, make sure the fixture remover fits tight within the implant connection.


-
-
 Essential Lateral Sinus Lift Kit - Nexxgen Biomedical®Special Price $420.00 Regular Price $600.00
 -
Summary
Implant Fixture and Screw Remover Kit by Surgident
| - | Additional Information
|
|---|